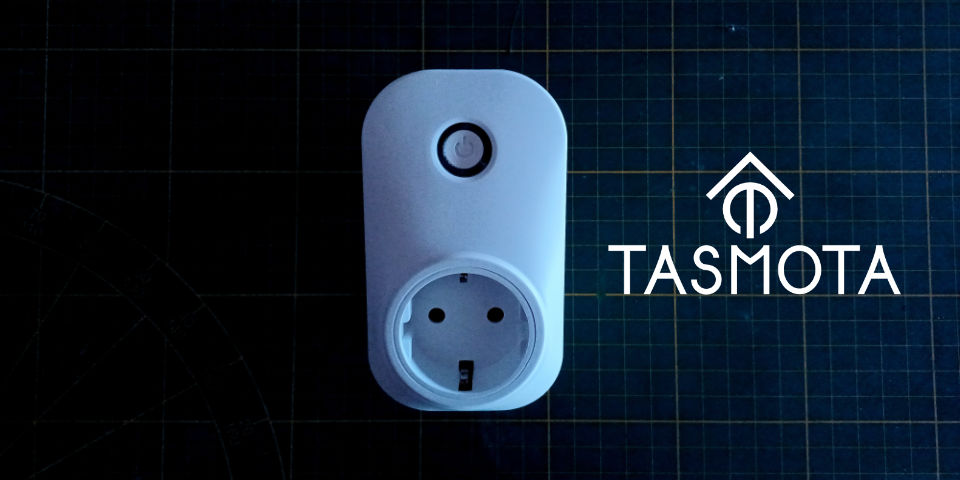
I needed a smart plug for a project. I acquired a Sonoff S20 smart plug from my father and didn’t want to use the default firmware, so I wanted to install Tasmota for a better integration with others tools (Domotics, Home Asssistant).
INFO: Tasmota is an Open Source firmware for ESP-based devices.
INFO: This tutorial focuses on the Sonoff S20 smart plug, but can be used for other smart plugs.
Introduction
There are many ways to flash a Smart plug with Tasmota, but in this tutorial we’ll flash it manually.
Required
- A computer
- A smart plug (recommended Sonoff S20)
- A screwdriver
- A USB to TTL serial interface (here a link)
- Some jumper cables (here a link)
- A soldering iron (optional)
- Some pin strips (optional)
Preparation
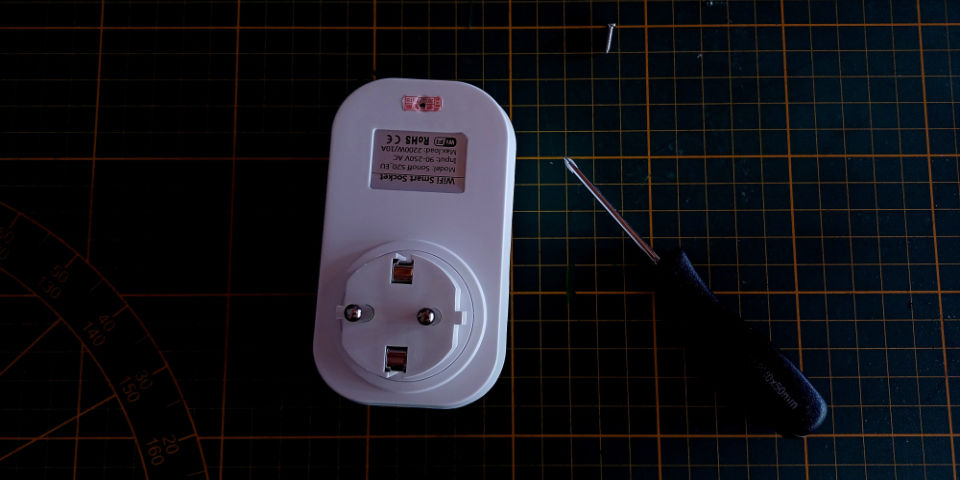
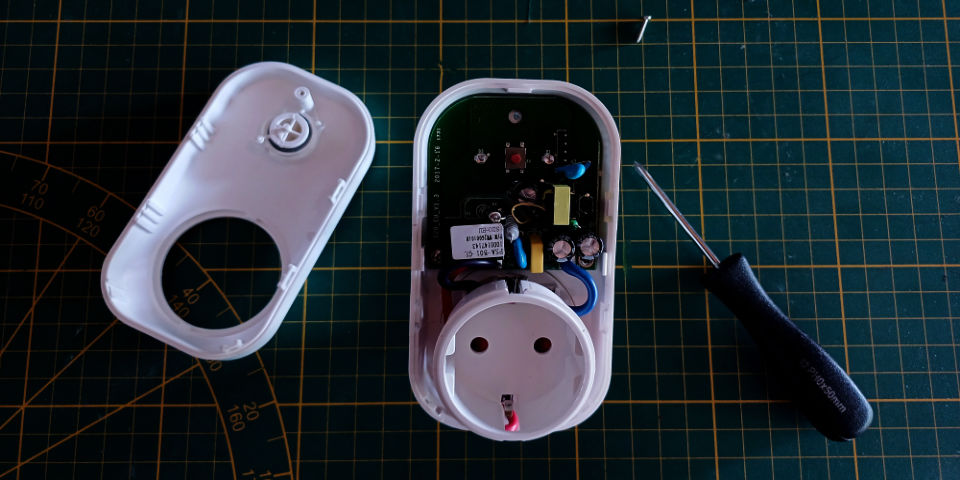
First of all, you’ll need to disassemble your smart plug. For me, all I had to do was unscrew a screw hidden behind a sticker (the rest is held in place by fasteners).
Once open, you’ll see 4 pin holes, which will be used to install the new firmware.
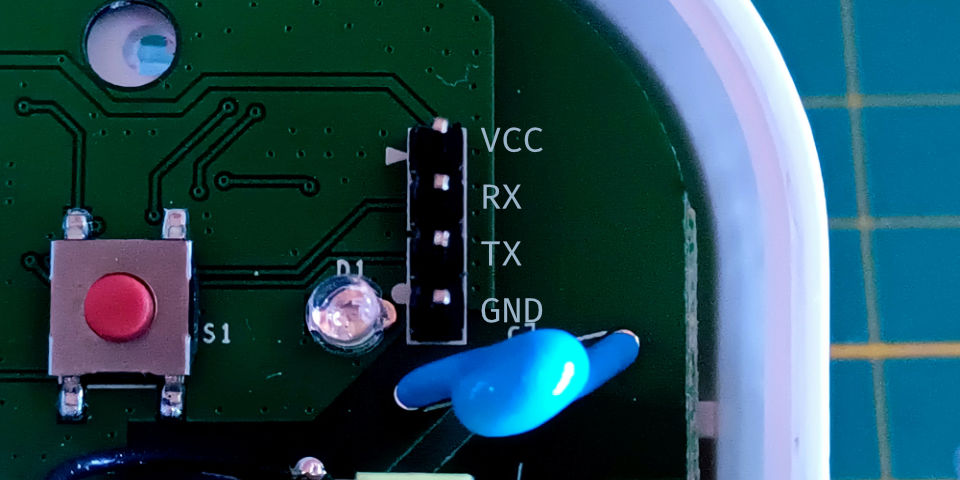
INFO: As you can see, on the image above, I’ve soldered some pins to facilitate the connection, this is entirely optional, but if you have the necessary hardware I strongly recommend you do the same.
Now you’ll need to connect the connectors of your USB to Serial adapter to those of your smart plug, as shown below:
# USB to TTL Serial -> Smart Plug
VCC -> VCC
TX -> RX
RX -> TX
GND -> GND
Installation
To flash Tasmota to your smart plug, you’ll need Esptool, and to install it, you’ll need Python 🐍.
Python
Python is relatively easy to install on most existing systems.
MacOS
brew install pythonLinux (ubuntu/debian)
sudo apt install pythonWindows
winget install -e --id Python.Python.3.11Esptool
pip install esptoolTry esptool with this command:
esptool.pyTIP: If the command is not working try relaunch your terminal or your computer.
Tasmota
Install Tasmota.bin from this link or execute this command:
curl -LJO "https://github.com/arendst/Tasmota/releases/download/v14.1.0/tasmota.bin"Now connect the USB to TTL serial adapter to your computer while pressing the power button on your smart plug, holding the button down for 2 seconds after connecting it to your computer.
Finally, run the command below to start the firmware installation:
esptool.py --port /dev/ttyUSB0 write_flash -fs 1MB -fm dout 0x0 tasmota.binIf all work normally your smart plug have been flashed with your new firmware.
Usage
To use your new flashed smart plug first of all connect it on a plug.
A new Wifi will be available beginning by Tasmota-..., connect to it.
You will be redirected to a page to enter your home Wifi SSID (name) and password.
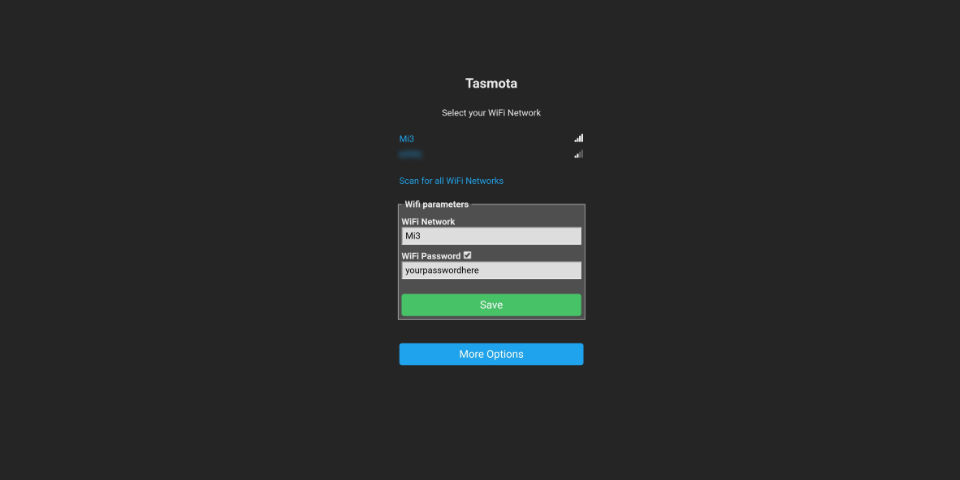
Wait that your smart plug restart and you will can use your new smart plug.

Bonus
Set Timezone
When using Tasmota, I needed the “Timers” function to manage the activation and/or deactivation of the smart plug.
For functions like “Timers” to work properly, you need to set the right time zone. To set your timezone go to this website and copy the command for your timezone.
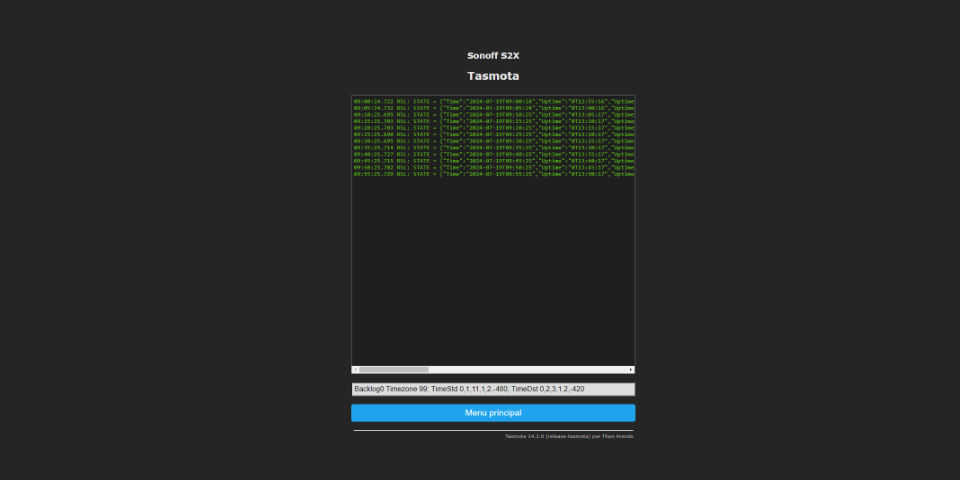
Enter in your “console”, paste your command and press Return key.
